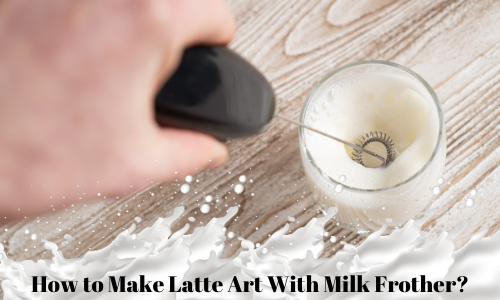
How to make latte art with milk frother?
How to make latte art with milk frother - Creating latte art at home is one of the most satisfying parts of being a coffee fan. Emulating our heroes in our local specialty coffee shop, we revel in the opportunity to whip out that steam wand on a semi automatic espresso machine, skillfully slot it in at an angle down the side of the milk pitcher to swirl the milk, before we start pouring out the steamed milk into the coffee cup for that perfect latte.
Unfortunately, it’s difficult to own a semi automatic espresso machine in an apartment, and most of us do not possess that luxury. But fret not - there are actually ways to create high quality foam milk that will be suitable for creating latte art.

Basis of Creating Froth Milk for Latte Art:
For high quality latte art to be produced, the foam used in the pouring process needs to be extremely fine and smooth. When big bubbles occur in the foamed milk during the frothing process, it does not mix well with the espresso crema during the pouring process and can appear blotchy or “pixelated”, which is not aesthetically pleasing.
The mouthfeel is also compromised, as the large air bubbles do not carry the espresso crema flavour as well, creating a diluted taste to that cup of coffee. So the goal is simple - create smaller and finer air bubbles in the milk during the frothing process. Fortunately, this is actually possible with an electric milk frother, although some adjustments must first be made to the application of the appliance.
Related Latte Art Content
What Milk is Best for Latte Art?
How to Steam Milk for Latte Art without Machine?
Learn Latte Art - for more related resources.
Other Questions about Coffee :
Where can I rent a coffee machine?
Using A Milk Frother To Create Froth Milk:
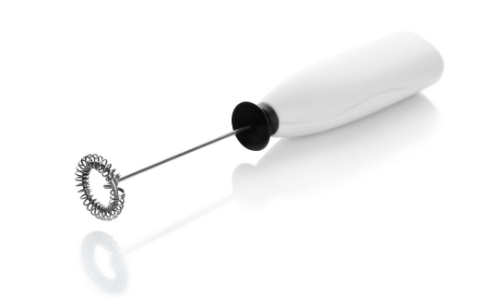
There are two types of milk frothers on the market. To create the microfoam needed for a microfoam that is suitable for treating latte art, you will need the handheld wand-like electric milk frother with the rotating attachment on the end. Apply these steps:
- Fill a milk pitcher up to the bottom of the spout with cold milk ( you may use warm milk for this process if you prefer)
- Take the handheld electric milk frother, and insert the attachment end into the side of the milk pitcher at an angle, using the gradient of the spout as leverage to get a better angle.
- Turn on the electric milk frother to start spinning the attachment, which should cause the cold milk in the milk pitcher to start swirling and incorporating air.
- At this point, the milk should be swirling powerfully enough such that the surface of the milk is broken.
- You may need to tilt the milk pitcher at an angle to further facilitate the breaking of the surface of the milk.
- Once this is achieved, continue frothing the milk, taking care to swirl the milk in such a way that there are no noticeable air bubbles being formed on the surface of the milk.
- Over time, as more and more air is incorporated into the cold milk, the milk should start to warm up slightly, and will also thicken.
- To know if the milk is thick enough for latte art, simply swirl the milk to coat the sides of the milk pitcher. The milk should leave a light film of milk on the side of the pitcher, showing it is ready for use in pouring latte art.
- Once satisfied with the texture of the milk, stop the electric milk frother, and remove it from the milk pitcher.
- Swirl the milk in the milk pitcher to remove any remaining air bubbles and tap the pitcher on the countertop to remove and stubborn big bubbles if any.
- Once the surface of the milk is smooth and shiny, you are ready to start pouring the latte art.

If you are looking for articles or content similar to "How to make latte art with milk frother", do check out our homepage for more resources. Or, drop us a note below to chat with us on your coffee needs.
Featured coffee brewing method: How to prepare V60 Coffee?
Previously: Making Coffee with a Coffee Sock.
Recent Articles
-
How to Do Menu Engineering: Complete Guide to Restaurant Profitability
Sep 27, 24 03:09 AM
Learn how to do menu engineering to boost your restaurant’s profitability. Discover strategies for menu design, pricing, and maximizing profitability. -
Tim Hortons Singapore is a Canadian Coffee Chain?
Nov 16, 23 09:00 AM
Do you know that Tim Hortons Singapore is a Canadian Coffee Chain? Apparently only 46% knows that in our IG poll! -
Coffee report on WMF Coffee Machine Brand in Singapore
Oct 11, 23 03:45 AM
Coffee report on WMF Coffee Machine Brand in Singapore
Featured: Office Coffee Machines
Follow Oncoffeemakers.com's board Office Coffee Machines | Singapore on Pinterest.Do check out other cool boards such as the one all on how to make coffee and drip coffee.
Food and Beverage (F&B) Articles
Sustainability Practices in Food Service
3 Free Restaurant Marketing Ideas
Singapore Cafes Reviews -Can they be Trusted?
Location, location, location might be a myth!
Walmart and Walter -The Power of Social Media!
Importance of value pricing for Cafes In Singapore
Why Nescafe is still the Largest Roaster in the World?
Everyone likes Starbucks -here's why
Is your Cafe location an asset or a liability?
Location myopia: why good anchor tenant might not be good?
Measuring the Location attractiveness index.
Social Media Crisis Management for Cafes in Singapore


